Cromwell Advanced
Use the scalability of AWS Batch to run Cromwell workflows. This is ideal for large workloads and larger data sets.
Parameters
Parameter |
Details |
|---|---|
Product Name |
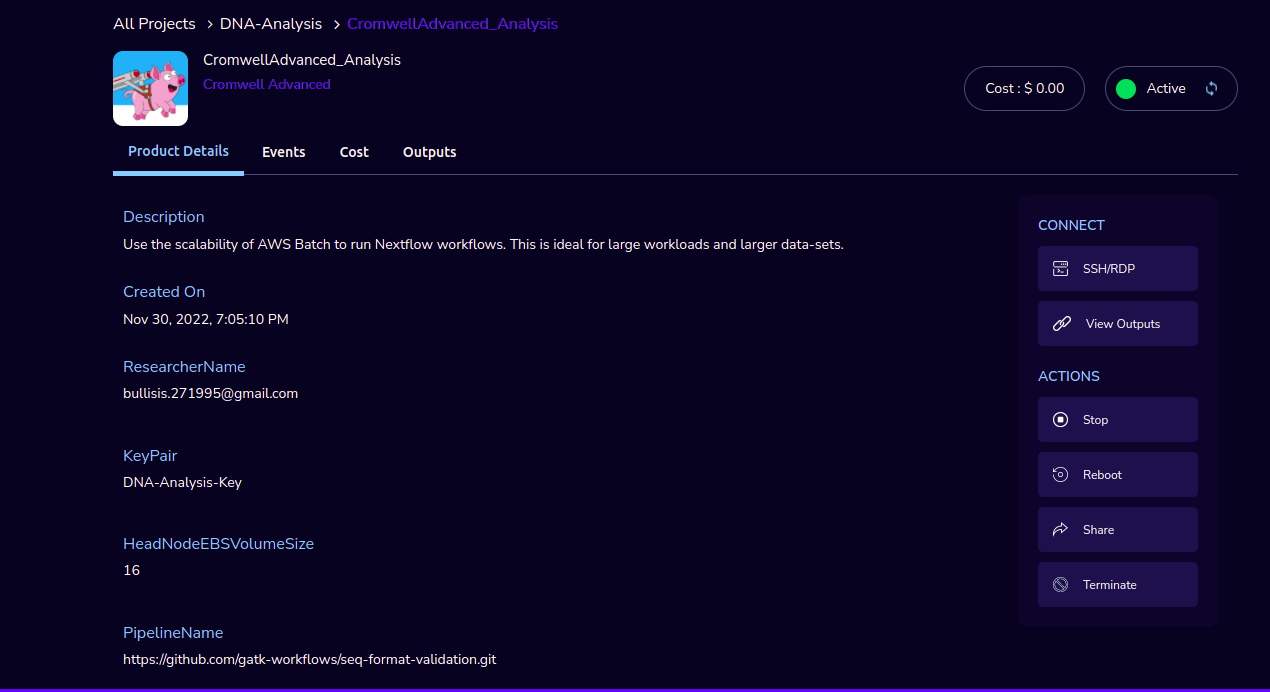
Provide a name to help you easily identify this instance of the product. Only alphanumeric characters, dots, hyphens and underscores are allowed. Spaces and special characters are not allowed. Eg: MedicalResearch |
Study Selection |
Expand the section to select studies to mount to your workspace. Select one or more studies to mount to your workspace from the dropdown list(Maximum of 2) |
Cromwell Configuration |
|
PipelineName |
Search and select the pipeline git repository URL. If not found please enter the custom pipeline URL. |
InputDataLocation |
An S3 bucket path that holds input data for the Cromwell pipeline. Eg: bucket-name/prefix |
OutputDataLocation |
An S3 bucket path that holds input data for the Cromwell pipeline. Eg: bucket-name/prefix |
Head Node Configuration |
|
InstanceType |
Head Node EC2 instance type. Eg: t2.micro |
HeadNodeEBSVolumeSize |
The initial size of the volume (in GBs) Head Node EBS will be used for storage. Eg: 16 |
KeyPair |
Name of an existing EC2 KeyPair to enable SSH access to the Head Node. If no key pairs exist, please create one from the button next to the dropdown. Please contact your Administrator if you are unable to create one. |
AllowedSSHLocation |
The IP address range that can be used to SSH to the Head Node. For the security of your instance, we recommend you allow connections only from your own location. You can find your IP using https://whatismyipaddress.com/ Eg: 0.0.0.0/0 |
Batch Configuration |
|
VPCId |
Choose VPC ID in the drop-down list. The VPC to create security groups and deploy AWS Batch to. NOTE: Must be the same VPC as the provided subnet IDs. |
WorkerNodeSubnetId |
Choose Subnet ID in the drop-down list. Subnet you want your batch compute environment to launch in. We recommend public subnets. |
ComputeEnvMinvCpus |
The minimum number of CPUs to be kept in running state for the Batch Worker Nodes. If you give a non-zero value, some worker nodes may stay in a running state always and you may incur higher costs. Eg: 0 |
ComputeEnvMaxvCpus |
The maximum number of CPUs for the default Batch Compute Environment. Eg: 100 |
SpotBidPercentage |
The maximum percentage of On-Demand pricing you want to pay for Spot resources. You will always pay the lowest Spot market price and never more than your maximum percentage. Eg: 100 |
WorkerNodeInstanceType |
Specify the instance types to be used to carry out the computation. You can specify one or more family or instance types. The option ‘optimal’ chooses the best fit of M4, C4, and R4 instance types available in the region. Eg: Optimal |
WorkerNodeEBSVolumeSize |
The initial size of the volume (in GBs) Worker Node EBS will be used for storage. Eg: 100 |
Steps to launch
Click on the project on the “My Projects” page.
Navigate to the available products tab.
Click the “Launch Now” button on the “Cromwell Advanced” product card. A product order form will open. Fill the details in the form.
Note
- PipelineName
You can see the drop-down option which is on the right side of the PipelineName field.
You can search the pipeline. If you type the correct pipeline you can see the info (ie.,” i”) icon which is on the right side of the field. If you click the info icon it will be routed to the gatk-workflows/seq-format-validation repository. If you type the wrong characters it will throw an error message accordingly.
- InputDataLocation
You can see filter options like All/Studies/Shared/ProjectStorage/Study in the Second part of the InputDataLocation field.
You can see the default option like “All“ in the filter.
You can see the product names with related paths when you search in the InputDataLocation field. You need to select the S3 bucket name from the available list.
If you type the invalid characters it will throw an error message accordingly.
- OutputDataLocation
Defaultly you can see the output path in the field.
You can see the product names with related paths when you search in the OutputDataLocation field.
You can see the filter options like All/Studies/Shared/ProjectStorage/Study.
You can see the default option like “All” in the filter.
If you type the invalid characters it will throw an error message accordingly.
Click on the “Launch Now” button. You will see a “Cromwell Advanced” being created. In a few minutes, that product should appear in the “Active” state.
Estimated time to provision - 10 minutes
Steps to connect
Click on the “SSH to Server” button under the “Connect” list on the right side of the page. This will open the SSH Window in a new browser tab.
Enter “ec2-user” as the username. Select “Pem file” as the Authentication type. Upload the pem file in the “Pem file” field and click on the “Submit” button. You should now be connected to the EC2 instance via SSH. To submit the workflow via curl use the following command:
$ curl -X POST “http://localhost:8000/api/workflows/v1” -H “accept: application/json” -F “workflowSource=@filename.wdl” -F “workflowInputs=@filename.json”
Note
You will receive a response accordingly
Scroll to the top of the Terminal screen and click the “Terminate” button to end the session. Alternatively, type exit and hit enter in the terminal.
You can view the outputs through the “View Outputs” option.
You can de-provision the product through the “Terminate” option.
Note
Cromwell Advanced Product does not support mounting of Project Storage.
Other considerations
You can stop your instance using the “Stop” button on the product details page of your instance. The instance will incur lower costs when it is stopped than when it is running. You can also change the instance type when your instance is in a stopped state using the “Instance Type” button on the product details page of your instance.
You can share the product with all the members of the project using the “Share” button on the product details page of your product. If you share the product with the project, you will have to share the PEM key file outside of Research Gateway.
Conversely, if the instance is stopped, use the “Start” button to get the instance “Running”.
You can attach a secondary EBS volume to your EC2 instance. First, create the EBS volume from the available products tab. While launching the EBS product, choose the same availability zone as your EC2 instance (find it in the Outputs tab). Once the EBS volume has been created, go to your EC2 Instance product details page click the “Attach Volume” button and select the volume from the dropdown. Conversely, you can also detach it by clicking the “Detach Volume” button in the kebab menu on the Product Details tab.
Steps to follow to mount the secondary EBS volume to your EC2 instance:
- Create a file system on the newly created EBS volume. Here we selected the device name /dev/sdf at the time of attaching the volume
sudo mkfs -t xfs /dev/sdf
- Create a folder
sudo mkdir /data
- Mount the volume
sudo mount /dev/sdf /data
You can run the following command in the SSH terminal of your EC2 instance to determine if the EBS volume has been successfully mounted: lsblk
The volume will only be displayed in the list if it has been mounted.
Note
If you have already created the file system on the volume, then skip the command “sudo mkfs -t xfs /dev/sdf”.
For further details please refer to the AWS documentation